Adding Badges
Target Audience: Teachers (Buzz Platform)
Badges are a fun way to recognize students on their achievements within the Buzz LMS. They are digital awards that can be presented automatically through module or assessment completion or manually by the teacher using the clipboard tool. Students will get an alert when they earn a badge and will be able to view their badges in their gradebook
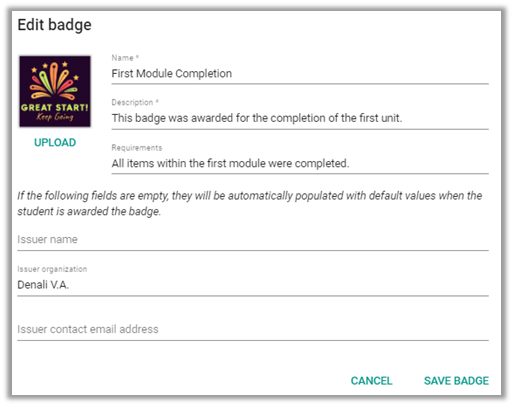
Create & Upload Badge
Before assigning a badge, it must first be created and uploaded at the course level (teachers) or domain level (administrators). Some schools create badges that include their school logo, while others create badges by creating a logo using free logo makers online. No matter the approach we suggest:
- Making the badge colorful or eye-catching
- Making a few variations for several use cases.
- Making the badge a square or circular design. The optimal size is 96 pixels x 96 pixels.

Once created, load the badges into the appropriate course or domain.
| Course-Level (Teachers) | Domain-Level (Admins) |
Badges loaded at the course level are only visible in that course. |
Domain-wide badges are available to all teachers. |

Awarding Badges
Badges can be awarded manually or automatically depending upon the appropriate need. The automatic awarding of a badge is limited to the celebration of the completion of a module, folder or activity. All other badges should be awarded manually.
Option 1: Manually Awarded Badges:
- Select the clipboard icon located within the navbar.

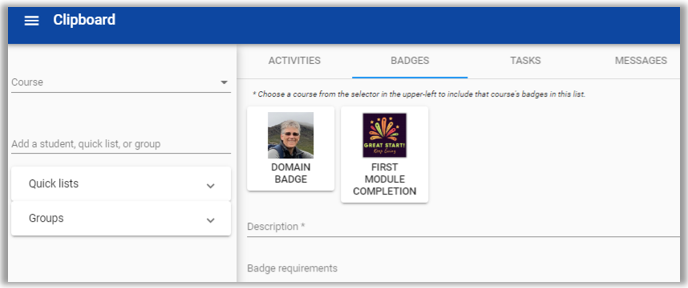
- Select the Badges tab. Initially, only domain-wide badges are visible.

To view badges associated with a course, select the course name.

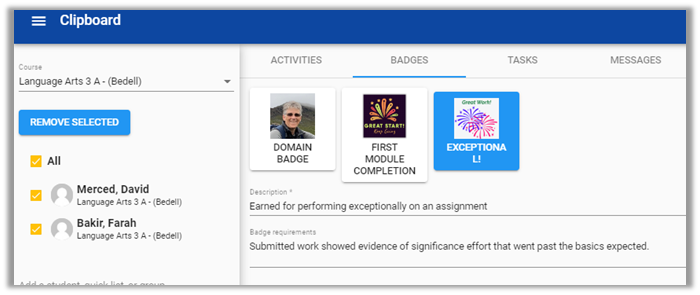
- Add the student(s), Quick Lists, and/or Groups to whom you want to award the badge using the panel on the left. (See above image). If using a course badge, it is essential to select the individual student. By default, it would be sent to all students in that class.
- Select the badge you want to award.
- Enter or edit the message in the Badge requirements field, so the recipient(s) know why they’re receiving it; this is your chance to personalize the badge for your student(s).
- Optional: Click Choose File next to Attach evidence file to browse for and attach a file related to the badge (e.g., a photo of the associated project, the essay or assignment file, a screenshot showing improving performance, etc.,). This is an easy way to tie praise to a concrete achievement for students and show them the thought behind badges.
- Click Award.
Option 2: Automatically Awarded Badges:
- Select the course Editor icon (pencil) from the teacher app homepage.
- Open the collapsed left-hand panel of the editor (located at the bottom of the Syllabus tab of the editor).

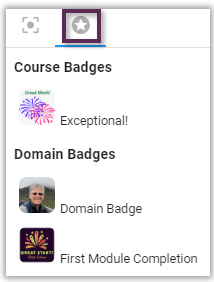
- Select the badge icon (Star) within the open panel.

- Select, drag, and drop the badge from the list on the left to the target folder or activity. Students automatically receive the badge upon successfully completing that folder or activity.

