
Cloning a Learning Object in the CMS (Canvas Users)
Target Audience: Administrators, Curriculum Specialists, and other users with CMS training (Canvas)
After completing Content Management System (CMS) training, programs may still have questions as they begin editing content. One of the first steps in the CMS editing process is cloning a learning object.
Programs cannot edit Accelerate Education content directly. Instead, they must create a clone of the original content, make edits to the clone, and then replace the original item with the updated version so students can view the changes.
This article provides step-by-step instructions for cloning a learning object in Canvas.
Cloning a Learning Object in Canvas
Before cloning a learning object, identify the exact lesson you want to edit. Begin in your Canvas course.
1. Locate the Lesson in Canvas
- From the Dashboard, open the desired course.
- In the Modules list, select the ellipsis (…) next to the lesson you want to edit.
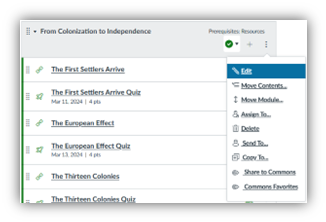
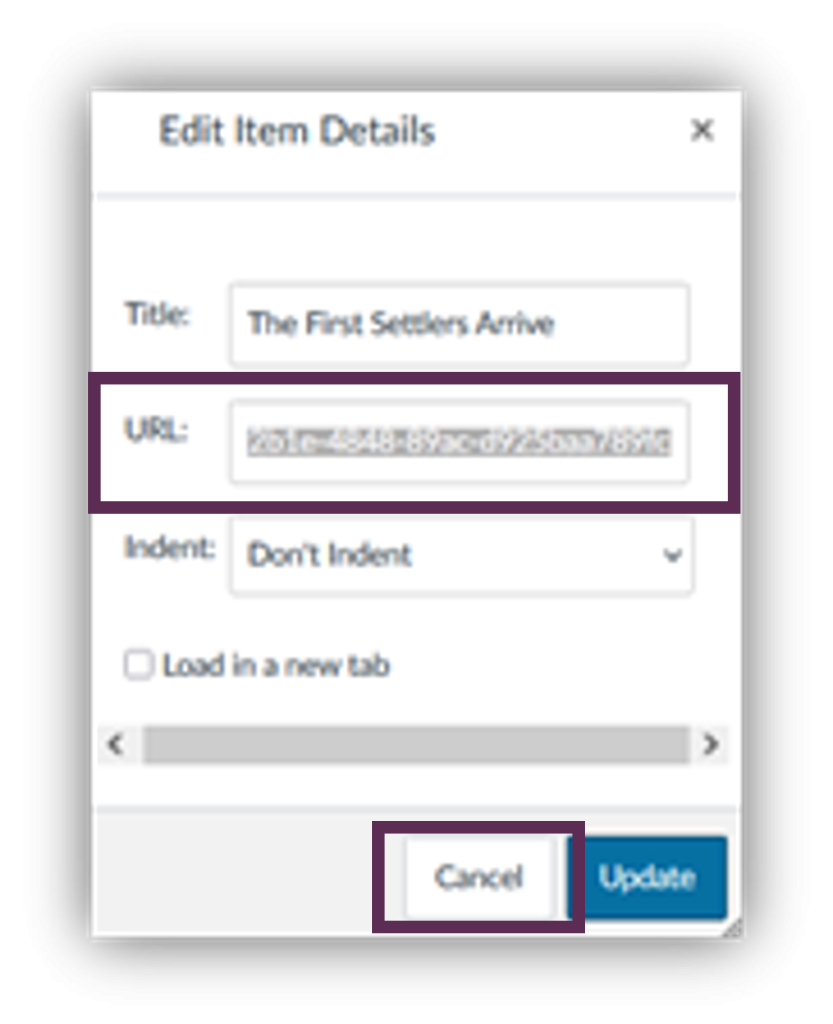
- Copy the complete URL, then select Cancel.
2. Create a Duplicate Lesson
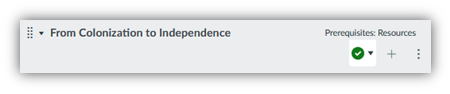
- Locate the module title banner and select the + icon.
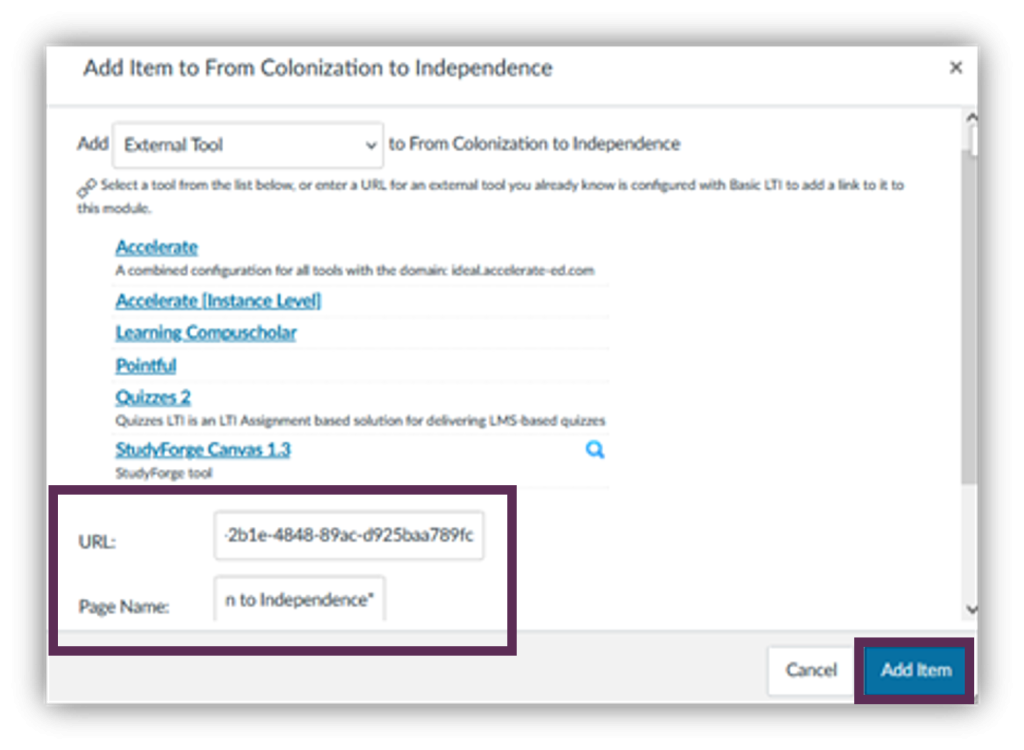
- From the Add Item dropdown menu, select External Tool.
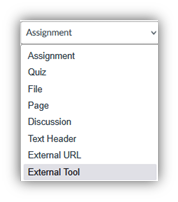
- In the External Tool/Add Item window:
- Paste the copied URL into the URL field.
- Enter the lesson title in the Page Name field, making it slightly different from the original (for example, by adding an asterisk *).
- Select Add Item.
- Locate the duplicated lesson at the bottom of the module and move it to the correct location near the original lesson.
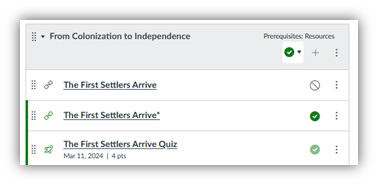
- Unpublish the original lesson by selecting the green checkmark and publish the duplicated lesson by selecting the unpublished icon.
Note: Keeping the original lesson unpublished provides a backup if editing errors occur in the CMS. If needed, you can delete the edited lesson and republish the original. This eliminates the need to import a new course and restart the editing process.
3. Locate the GUID ID
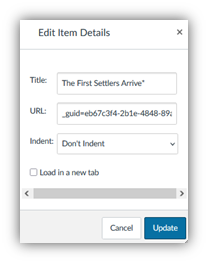
- Select the ellipsis (…) next to the duplicated lesson and choose Edit.
- In the URL field, scroll to the right and copy the value that follows
guid=.
Important: Leave this screen open for later use.
Example GUID ID:
eb67c3f4-2b1e-4848-89ac-d925baa789fc
4. Locate the Lesson in the CMS
- Log in to the CMS using your CMS username and password.
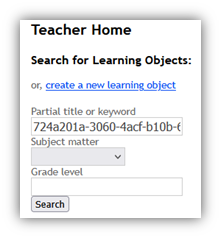
- In the Partial Title or Keyword field, paste the GUID ID.
- Select Search.
Note: No other search fields are required because the GUID ID identifies the exact lesson.
- Select the lesson title from the search results.
Note: Only one lesson should appear because the GUID ID is unique.
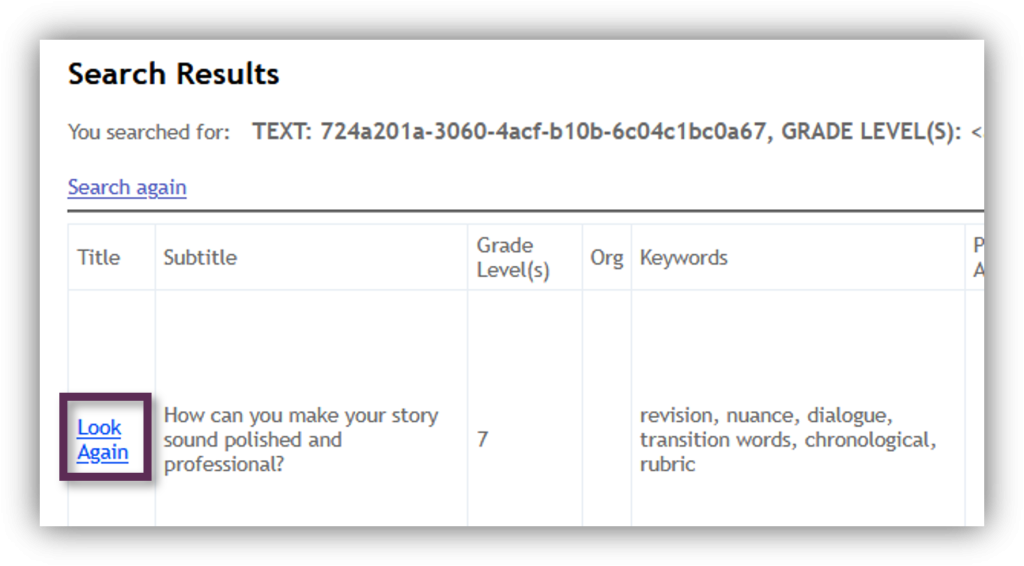
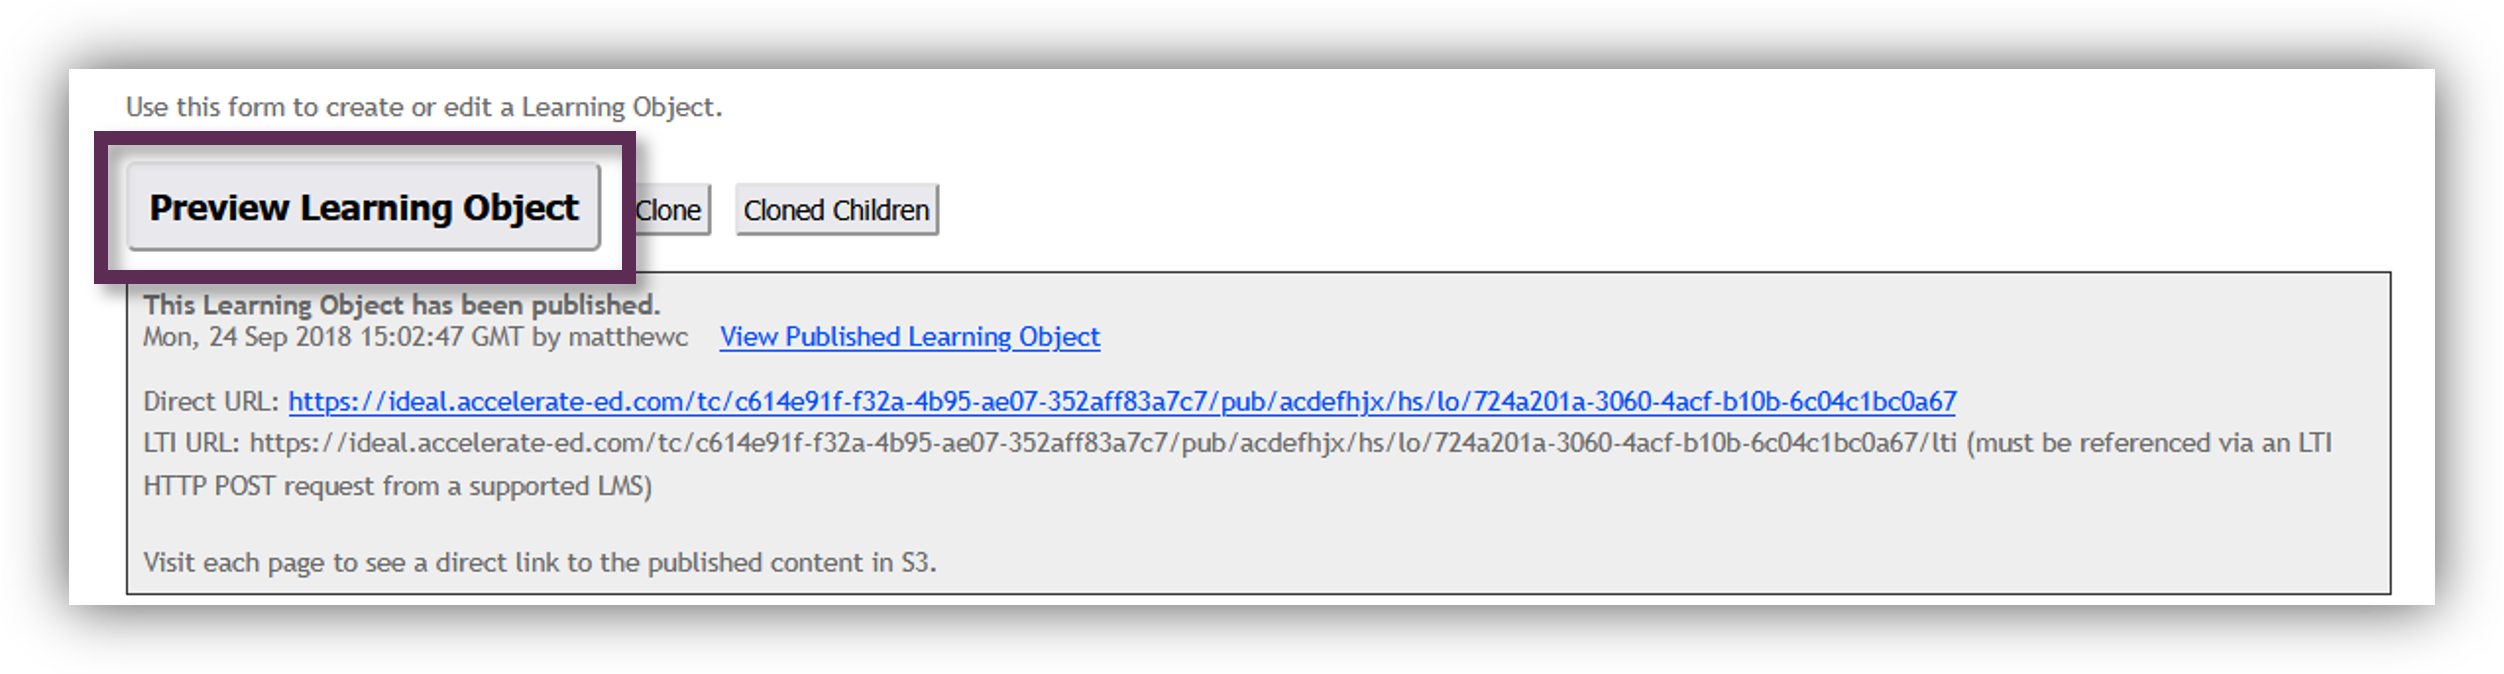
- To confirm that you selected the correct lesson, select Preview Learning Object (optional).
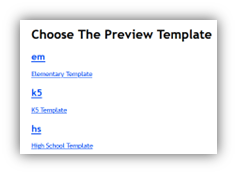
- Select the preview template that matches the grade level of the course being edited.
- After verifying the lesson, close the preview window.
5. Clone the Learning Object
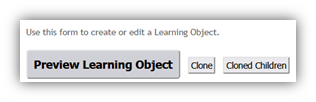
- Select Clone, located next to the Preview Learning Object button.
Note: Cloning is required because CMS edits are local to your program. Editing the original lesson would affect all Accelerate Education users.
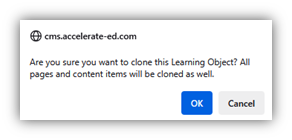
- When the warning message appears, select OK.
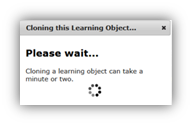
- Wait while the learning object is cloned.
- When the success message appears, select OK again.
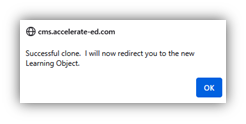
Additional buttons will now be available, indicating that the lesson has been successfully cloned and is ready for editing.

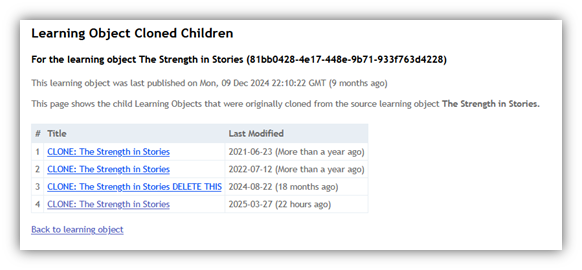
Tip: The Cloned Children button displays all clones of that specific lesson created by users in your program. This can be useful for tracking edits, reviewing changes, or locating an existing clone. Selecting a clone opens it for viewing or further editing.
Next Steps
After cloning is complete, you can begin editing the cloned learning object in the CMS. Once edits are finalized and published, students will see the updated content in Canvas.