Schoology – Importing Accelerate Education Courses
Target Audience: Schoology Administrators
When adding Accelerate courses to a program’s Schoology LMS, an Accelerate representative will:
- Provide the designated administrator a Consumer Key and Shared Secret which will be needed during the course setup process to configure an External Tool using LTI. Additional LTI credentials may be provided for programs using certain AP and/or CTE titles.
- Provide one or more alpha-numeric Access Codes (formatted as xxxx-xxxx-xxxxx) which will grant access to Group Resource areas in Schoology where Accelerate courses are made available.
Once the above items are received:
Step 1: Connect to Accelerate Education’s Group Resources.
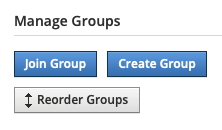
a. Login to Schoology and navigate to Groups » My Groups. On the right, select Join Group.
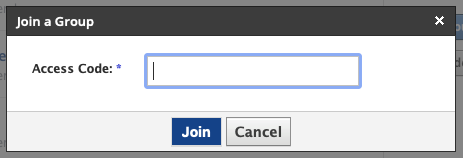
b. Enter the Access Code that was provided to you and click Join.
c. Repeat this process if you were provided multiple Access Codes.
Step 2: Configure External Tool Provider using LTI key and secret provided.
a. Go to Tools » School Management » Integration » External Tools.
b. Select Add External Tool Provider.
c. Configure the External Tool Provider exactly as shown below. The Consumer Key and Shared Secret are specific to your program. Use the values that were provided to you by Accelerate Education. These values are case sensitive.
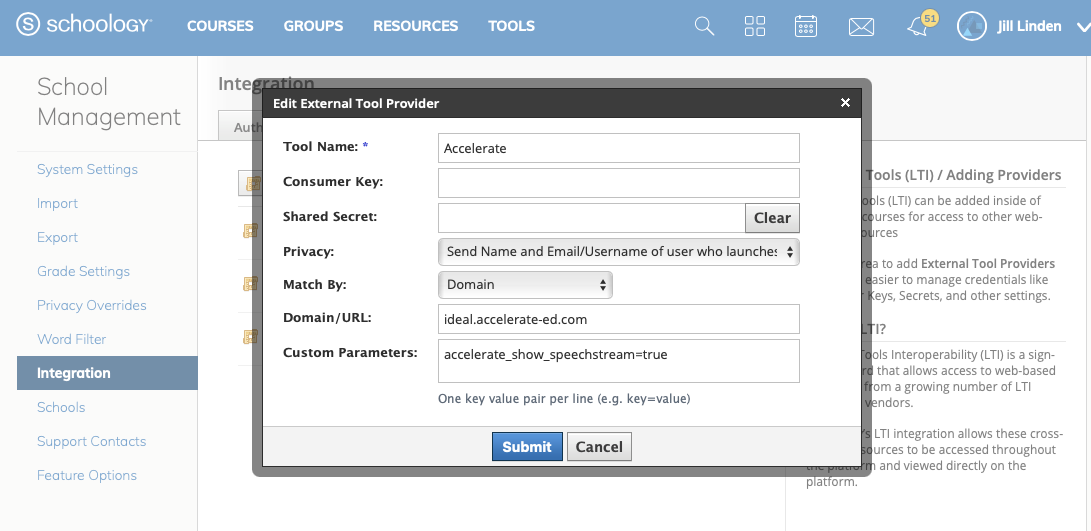
d. Select Submit.
e. If directed, add any other External Tool Providers necessary.
Step 3: Prepare an empty course shell where you will import Accelerate’s published course materials.
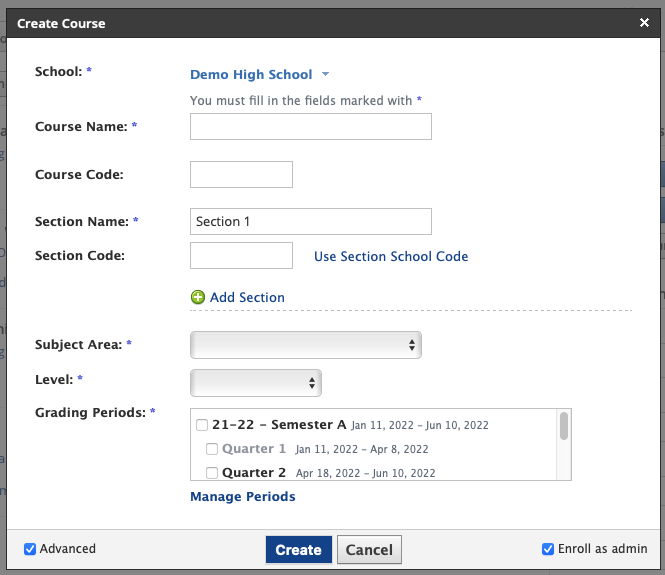
a. Navigate to Courses » My Courses. On the right, select Create Course. Complete the information requested and then click Create.
STOP! Do not add any materials from Group Resources just yet!
b. In order to minimize the amount of manual setup required when pulling in Accelerate courses from Group Resources, it is imperative that grading categories be established before course materials are imported. If the correct grading categories exist within a course at the time content is loaded, Gradebook Settings will import fully configured (with grading categories assigned, items set as gradable activities, etc.) for all activity types other than Discussions.
c. Determine which Grading Categories need to be added.
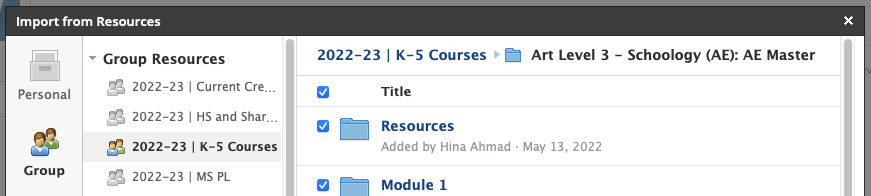
Go to Groups.
Select the Accelerate Group you joined previously, and select Resources. Navigate to the course title you are going to import.
From there, select the first folder labeled Resources and go to Teacher Resources » Grade Setup Information.
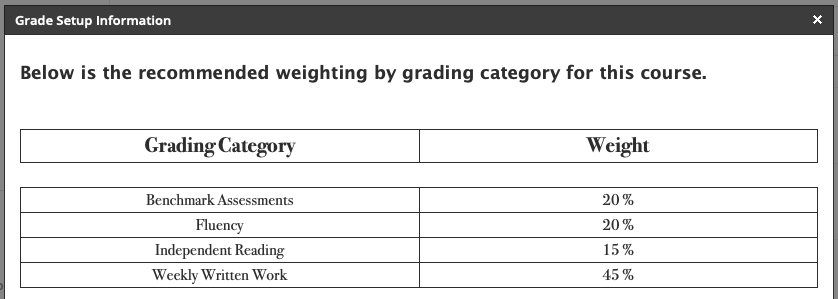
This document provides a summary of the grading categories and corresponding recommended category weights for the course. Note the details in this document will vary from course to course.
d. Add Grading Categories to course.
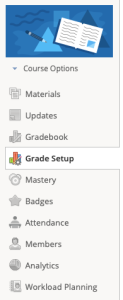
Returning to the new course you created above, select Grade Setup.
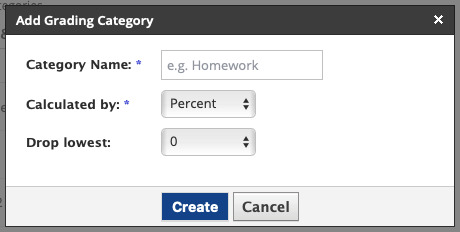
Navigate to Categories and select +Add.
Add a Grading Category for each of the grading categories noted in the Grade Setup Information document.
Once Grading Categories have been added, select the checkbox to enable Weight Categories.
Adjust the weight for each category based on the % noted in the Grade Setup Information document.

Make sure to select Save Changes at the bottom of the page.
Step 4: Import course materials.
a. Go to Materials » Add Materials » Import from Resources.
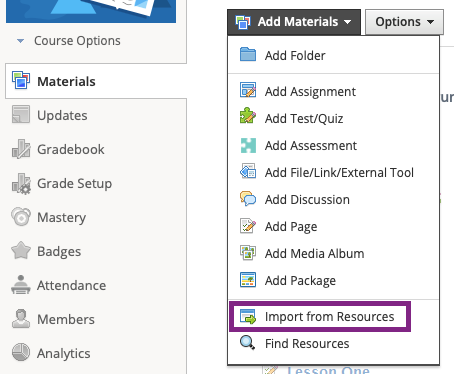
b. Navigate to the Group Resources Folder where the course materials are housed, select all items, and click Import.
Step 5: Complete course setup.
a. Assign Discussion items to correct grading category. (This step may be omitted for courses that do not contain Discussion activities).
Go to Gradebook » Bulk Edit.
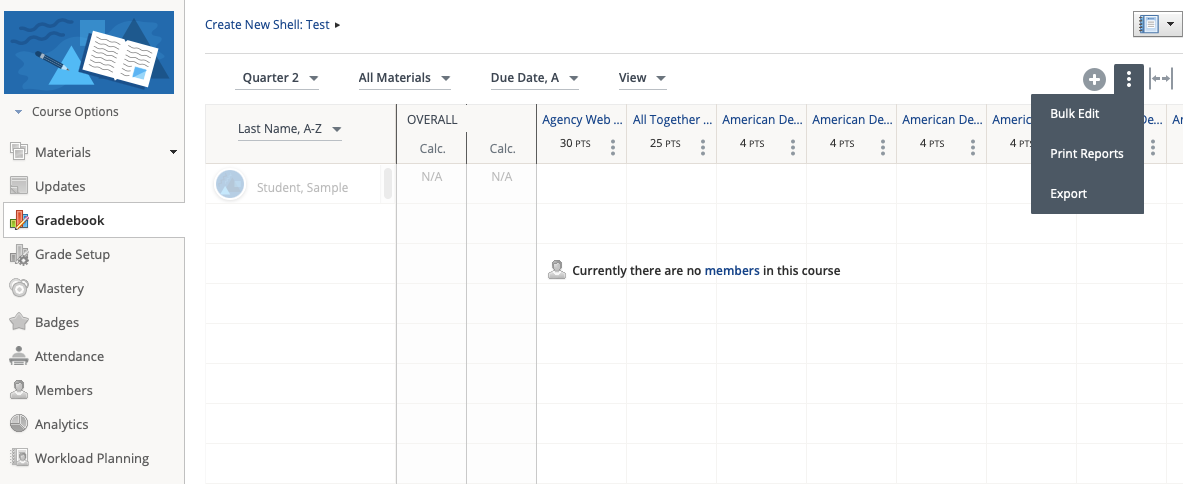
If your course has any graded discussion items, these will import as Ungraded (even if you have properly configured the Discussions grading category prior to import).

Use the drop-down menu to select the Discussions grading category for these items, and then click Save Changes at the bottom of your page.
![]()
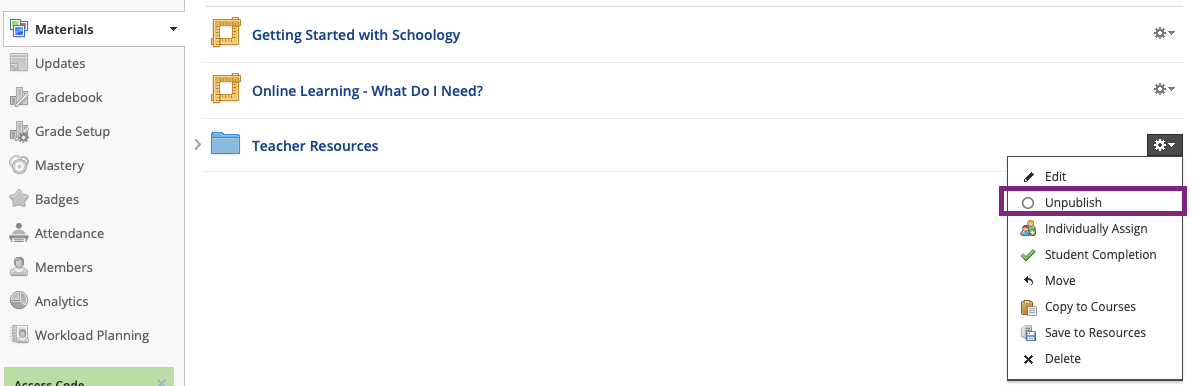
b. Unpublish Teacher Resources.
The final configuration step is to unpublish the Teacher’s Guide and related materials so these are not visible to students.
To do this, go to Materials » Resources » Teacher Resources.
Using the dropdown menu next to the gear icon, select Unpublish.
Step 6: Repeat steps 3 – 5 for each Accelerate course you want to import into Schoology.